ur-scape is developed with the Unity engine, which allows to generate projects not only as desktop applications, but also as JavaScript programs that can be run on a web browser.
This section will explain how to prepare, generate and deploy a WebGL instance.
For more information on Unity's WebGL build, please visit the following link: https://docs.unity3d.com/Manual/webgl-gettingstarted.html
¶ Prerequisites
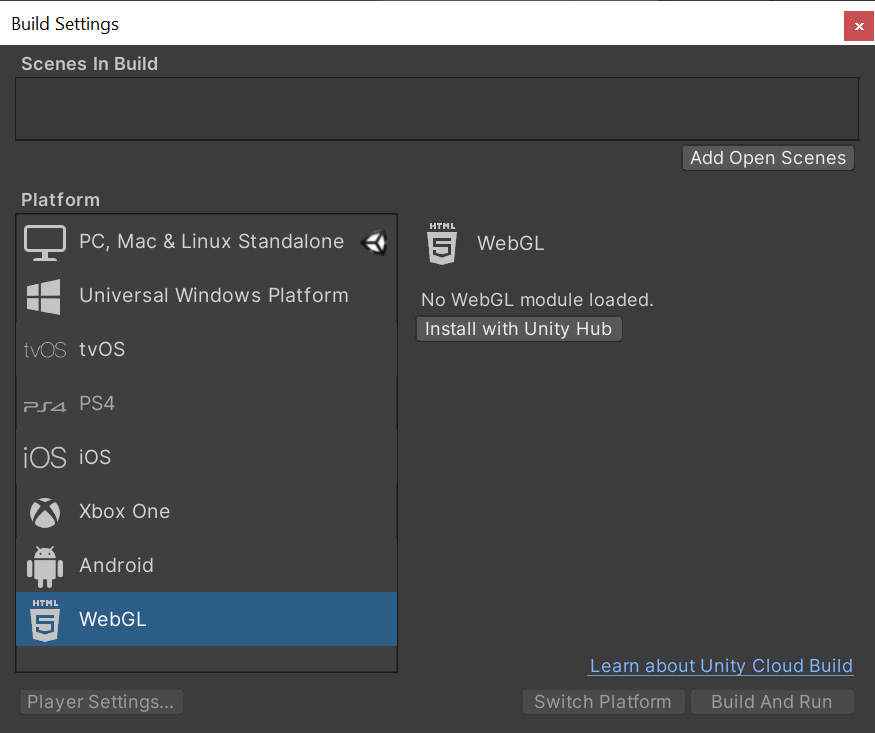
Unity's WebGL module must be installed before creating a build.
¶ WebGL Templates
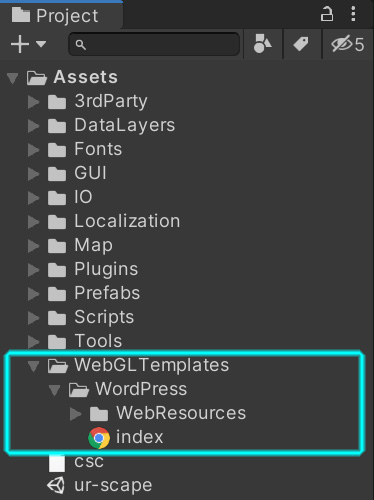
Unity uses web templates to create WebGL builds. It already includes two templates ('default' and 'minimal') and also allows users to create their custom templates. For example, a custom template for deploying to Wordpress can be found in ur-scape's project.
For more information on WebGL templates, please visit the following link: https://docs.unity3d.com/Manual/webgl-templates.html
¶ Project Settings
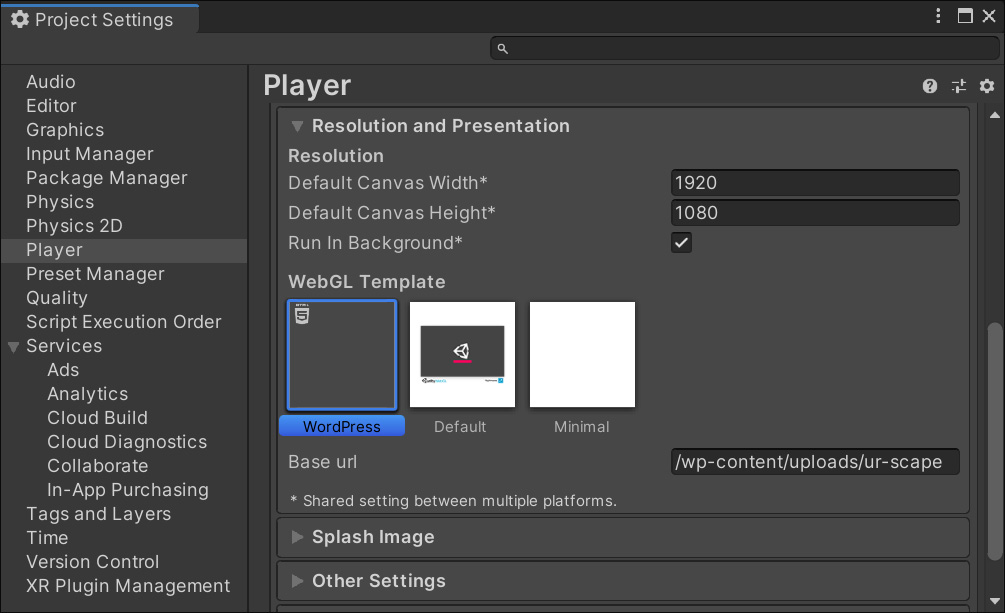
The template can then be selected in the project settings, under the Player > Resolution and Presentation section, in the WebGL tab. In the case of the Wordpress template, it requires the user to fill in the Base url property. This is the URL/path to where ur-scape's web instance will be located.
¶ Build Files
The WebGL build will generate the following files and folders:
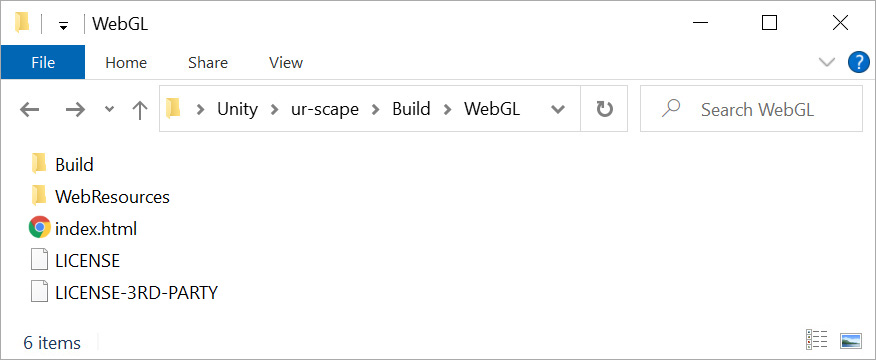
- Index.html: is the main file. It can be deployed 'as is' or used for copying its contents as part of a larger document (e.g. to a WordPress post)
- Build folder: contains the WebGl framework, assembly, data and loader.
- Web Resources folder: contains the JavaScript, CSS and images included by the index.html
- License files: contains the licensing information for ur-scape and its 3rd party libraries.
¶ Data
Now that the WebGL programe is generated, we will need to add the existing data.
- Step 1: copy your existing ur-scape's Data folder (e.g. c:\ur-scape\Data) to the WebGL build folder.
- Step 2: only the binary files are needed for each data layer. You may delete all the CSV files inside Data/Sites. This will save time when deploying/uploading to the webserver.
- Step 3: make sure you have
UpdateWebDB.batandUpdateWebDB.vbsin yourDatafolder. Otherwise, copy them from ur-scape's project. - Step 4: run
UpdateWebDB.bat. This will generate aWebDBfolder with two files:headersandpatches. This step needs to be repeated whenever a data layer changes, layers are added or removed, or layers.csv is changed.
¶ Upload / Deploy
The WebGL folder should now be ready to be uploaded to the webserver. You may call the index.html file directly in your web server, or copy the contents of the file, depending on your setup.